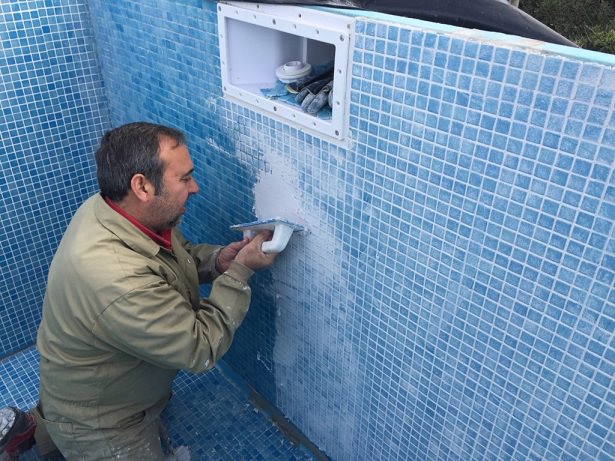
Before talking about swimming pool waterproofing, it is important to note that leaks in pools are a very common occurrence and are usually very difficult to locate and repair. This is because the mosaic or ceramic finish makes it hard to see where the pool’s sealing problem is.
The first thing we have to do is rule out the possibility that the leak is caused by pipes. To guarantee that this is not the problem, we need to carry out pressure tests with the accessories. If these are not the problem, then we know the water leak is in the pool itself.
For years , we’ve seen how small cracks are generated in concrete pools due to different causes such as the aging of the structure, ground movement. These small cracks of less than 3mm do not generate a structural problem, however they do cause a sealing problem.
When it comes to swimming pool waterproofing, we must keep in mind the fact that cementitious waterproofing products, only withstand cracks with a maximum size of 0.05mm, since the waterproofing material must be able to stretch a lot in a very limited length.
Another sealing problem in pools occurs in the area where the structure is joined with ABS or PVC accessories, such as the skimmer, tubes, spotlights… since the union between concrete and rigid plastic materials is not watertight
Swimming pool waterproofing with the Signapool System
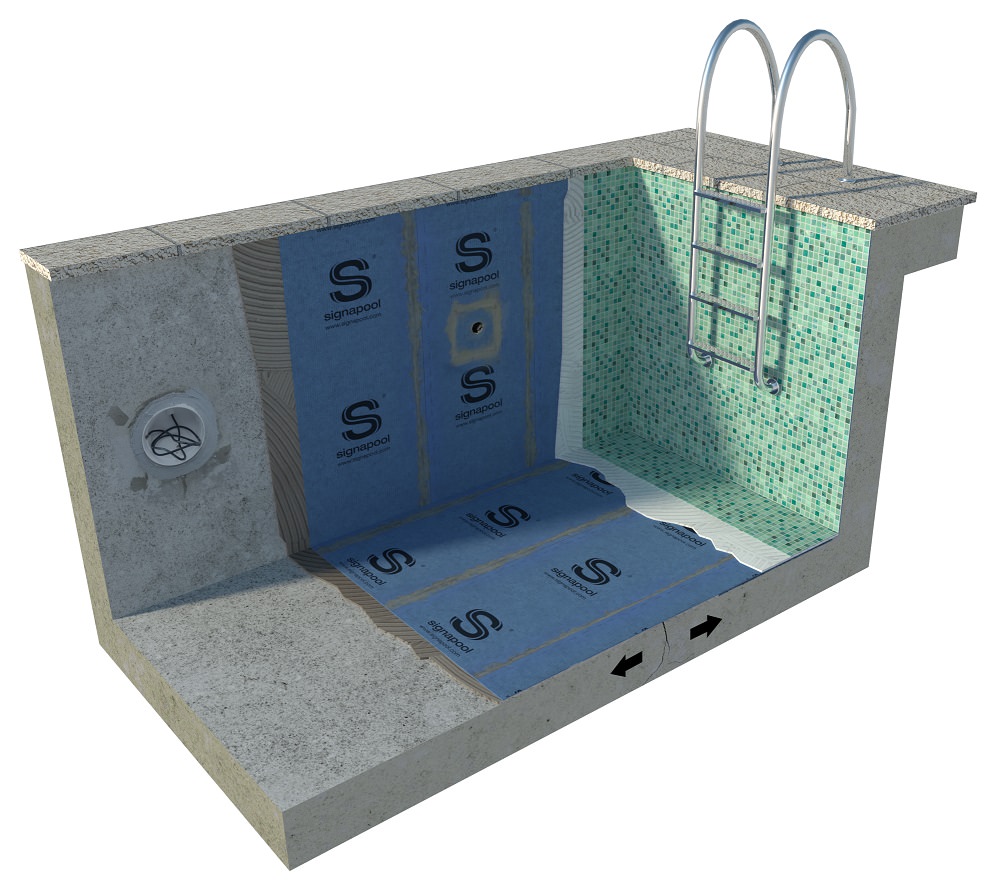

Our Signapool system is a swimming pool waterproofing system for ceramic finish pools only, capable of supporting cracks of up to 3mm. It can be applied to both newly-built pools on the cement base, or to the existing tiles in the case of pool repairs. In addition, the Signapool system ensures a waterproof seal between the structure and the accessories thanks to the S sealant, which is a waterproof and elastic sealant that adheres great to concrete and plastic.
Advantages of the swimming pool waterproofing system:
- Totally waterproof (pressure of 2.5 bars) and sealing of critical joints
- Easy-application system
- Flexible system that repairs cracks of up to 3mm
- Decoupling of the structure: does not transmit the movement to the tile
- The tiles or mosaic is placed directly on the Signapool S1 sheet
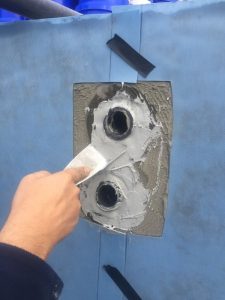
Photo sealing of accessories
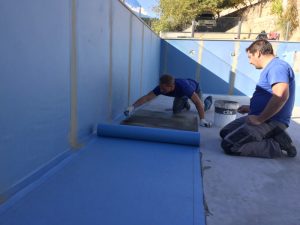

Photo placement of the Signapool sheet
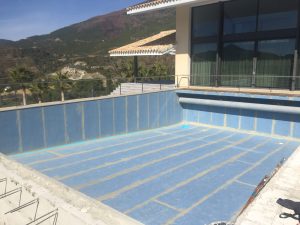

Photo pool ready for placement of glass mosaic
Swimming pool waterproofign steps
Step 1: Sealing of accessories
To waterproof a swimming pool, either for a new pool or a pool in repair, the first step in waterproofing the pool will consist of the seal between the concrete structure and the PVC accessories. To do this, open the tube/accessory with a hammer and chisel around the area (2.5cm wide and deep, see photo). Then we apply the S sealant primer with a brush until the substrate is completely saturated, both on the concrete and on the PVC, and we’ll let it dry for at least 1 hour, maximum 4 hours. It is important to apply the S sealant in three successive applications: the first two near the sides of the joint and the third in the centre, in order to avoid the appearance of pores. We will apply the product, trying to make sure it gets deep down and comes in contact with the sides of the concrete, the crack, etc.
Step 2: Placing the Signapool S1 sheet
For cementitious substrates, apply the Signapool flexcol S cement (in a creamy consistency) onto the prepared substrate with the help of a notched trowel (3/4 mm teeth), surpassing the width of the sheet by 5 cm. Place the previously cut sheet on the newly extended glue cement. Next, spread it by applying pressure, with the smooth part of the steel or rubber trowel. Start at the top and remove all excess glue from the sides so that the sheet adheres properly without any air bubbles.
Step 3: Sealing the overlaps with X-COLL waterproofing adhesive
After, place the next waterproofing sheet with a minimum overlap of 5 cm on top of the sheet, without doing anything to the joints (they will all be done later on at the same time when the 2-component mixture is made). The overlaps should be made using the Signapool X-COLL 2-component adhesive in a very thin layer using a 2/3 mm trowel. On the accessories and tubes, we will also place a sheet patch on the previously adhered sheet and the sealant, also glued with the Signapool X-COLL.
Step 4: Placing the glass mosaic or ceramic tile on the waterproofing
After the swimming pool waterproofing sistem has been testet, the glass mosaic or ceramic tile must be placed using our white flexible CERAFIX adhesive. Without the need for any waiting time, it can be placed right after having finished gluing and sealing the overlaps/accessories.
Installation video
The importance of grouting the glass mosaic
The grout used with normal tiles (cementitious) is not impermeable and after a few years it decomposes and/or mold can grow. This is because the chemical resistance of the cementitious grout is very limited. In addition, the cement-based grout is not waterproof and allows the water to pass through the joint. In this article, you can find more information about pool grout.
After placing the glass mosaic over the swimming pool waterproofing system, we recommend grouting the tile with Signapool EPOGROUT (epoxy mortar) for greater security.
With the Signapool waterproofing system, as a complete system, you have the option of making the pool even more secure by using the epoxy grout. It is 100% waterproof, has a lot of chemical resistance (whether the pool uses normal or saline chlorination) and it does not fade over the years.
In addition, the EPOGROUT epoxy grout is very easy to apply (almost like a cement-based grout).
Steps:
1. Mix all three components with an electric mixer.
2. Spread the product using a hard rubber trowel. Apply the product to the joints diagonally.
3. Gather all excess with the same rubber trowel.
4. Immediately after, clean the area with water and a Scotch-Brite sponge using circular motions.
5. Then soak up this mixture with a sponge trowel.


