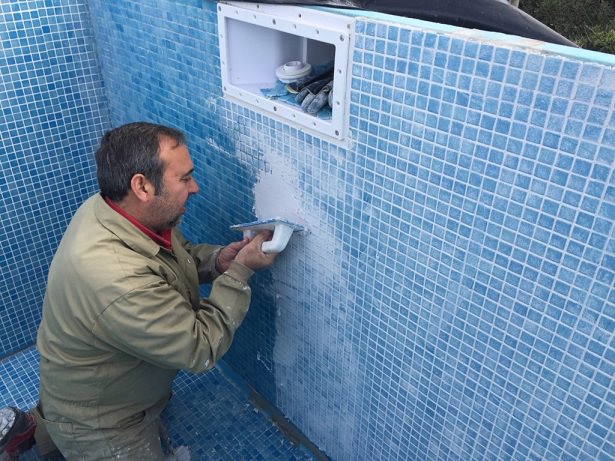
Galvanized steel or stainless steel swimming pools can be built quickly as, after digging the hole, a 15cm concrete slab is created, and the steel panels are anchored directly onto the slab.
This type of 2 mm thick steel panel undergoes many movements; in particular when being filled and/or completely emptied. Therefore, the only method of ensuring watertightness and providing the finish was by using a PVC liner.
The new Signapool system for steel pools is an innovative system created exclusively to ensure the watertightness of this type of swimming pool and give it a much more attractive and durable mosaic finish than a PVC liner.
Signapool system for Steel Pools
The system consists mainly of a self-adhesive waterproof steel sheet that allows the mosaic lining to be attached directly, the waterproof X-COLL adhesive to attach the tapes between panels, and the application of the EPOGROUT, epoxy mortar for grouting the mosaic with high tensile strength.
Advantages:
- Easy to install
- Withstands movements and crack-bridging
- Uncouples the mosaic structure
- Minimal thickness


The importance of grouting the glass mosaic
The grout used with normal tiles (cementitious) is not impermeable and after a few years it decomposes and/or mold can grow. This is because the chemical resistance of the cementitious grout is very limited. In addition, the cement-based grout is not waterproof and allows the water to pass through the joint. In this article, you can find more information about pool grout.
After placing the glass mosaic over the Signapool waterproofing system, we recommend grouting the tile with Signapool EPOGROUT (epoxy mortar) for greater security.
With the Signapool waterproofing system, as a complete system, you have the option of making the pool even more secure by using the epoxy grout. It is 100% waterproof, has a lot of chemical resistance (whether the pool uses normal or saline chlorination) and it does not fade over the years.
In addition, the EPOGROUT epoxy grout is very easy to apply (almost like a cement-based grout).
Steps:
- 1. Mix all three components with an electric mixer.
- 2. Spread the product using a hard rubber trowel. Apply the product to the joints diagonally.
- 3. Gather all excess with the same rubber trowel.
- 4. Immediately after, clean the area with water and a Scotch-Brite sponge using circular motions.
- 5. Then soak up this mixture with a sponge trowel.


